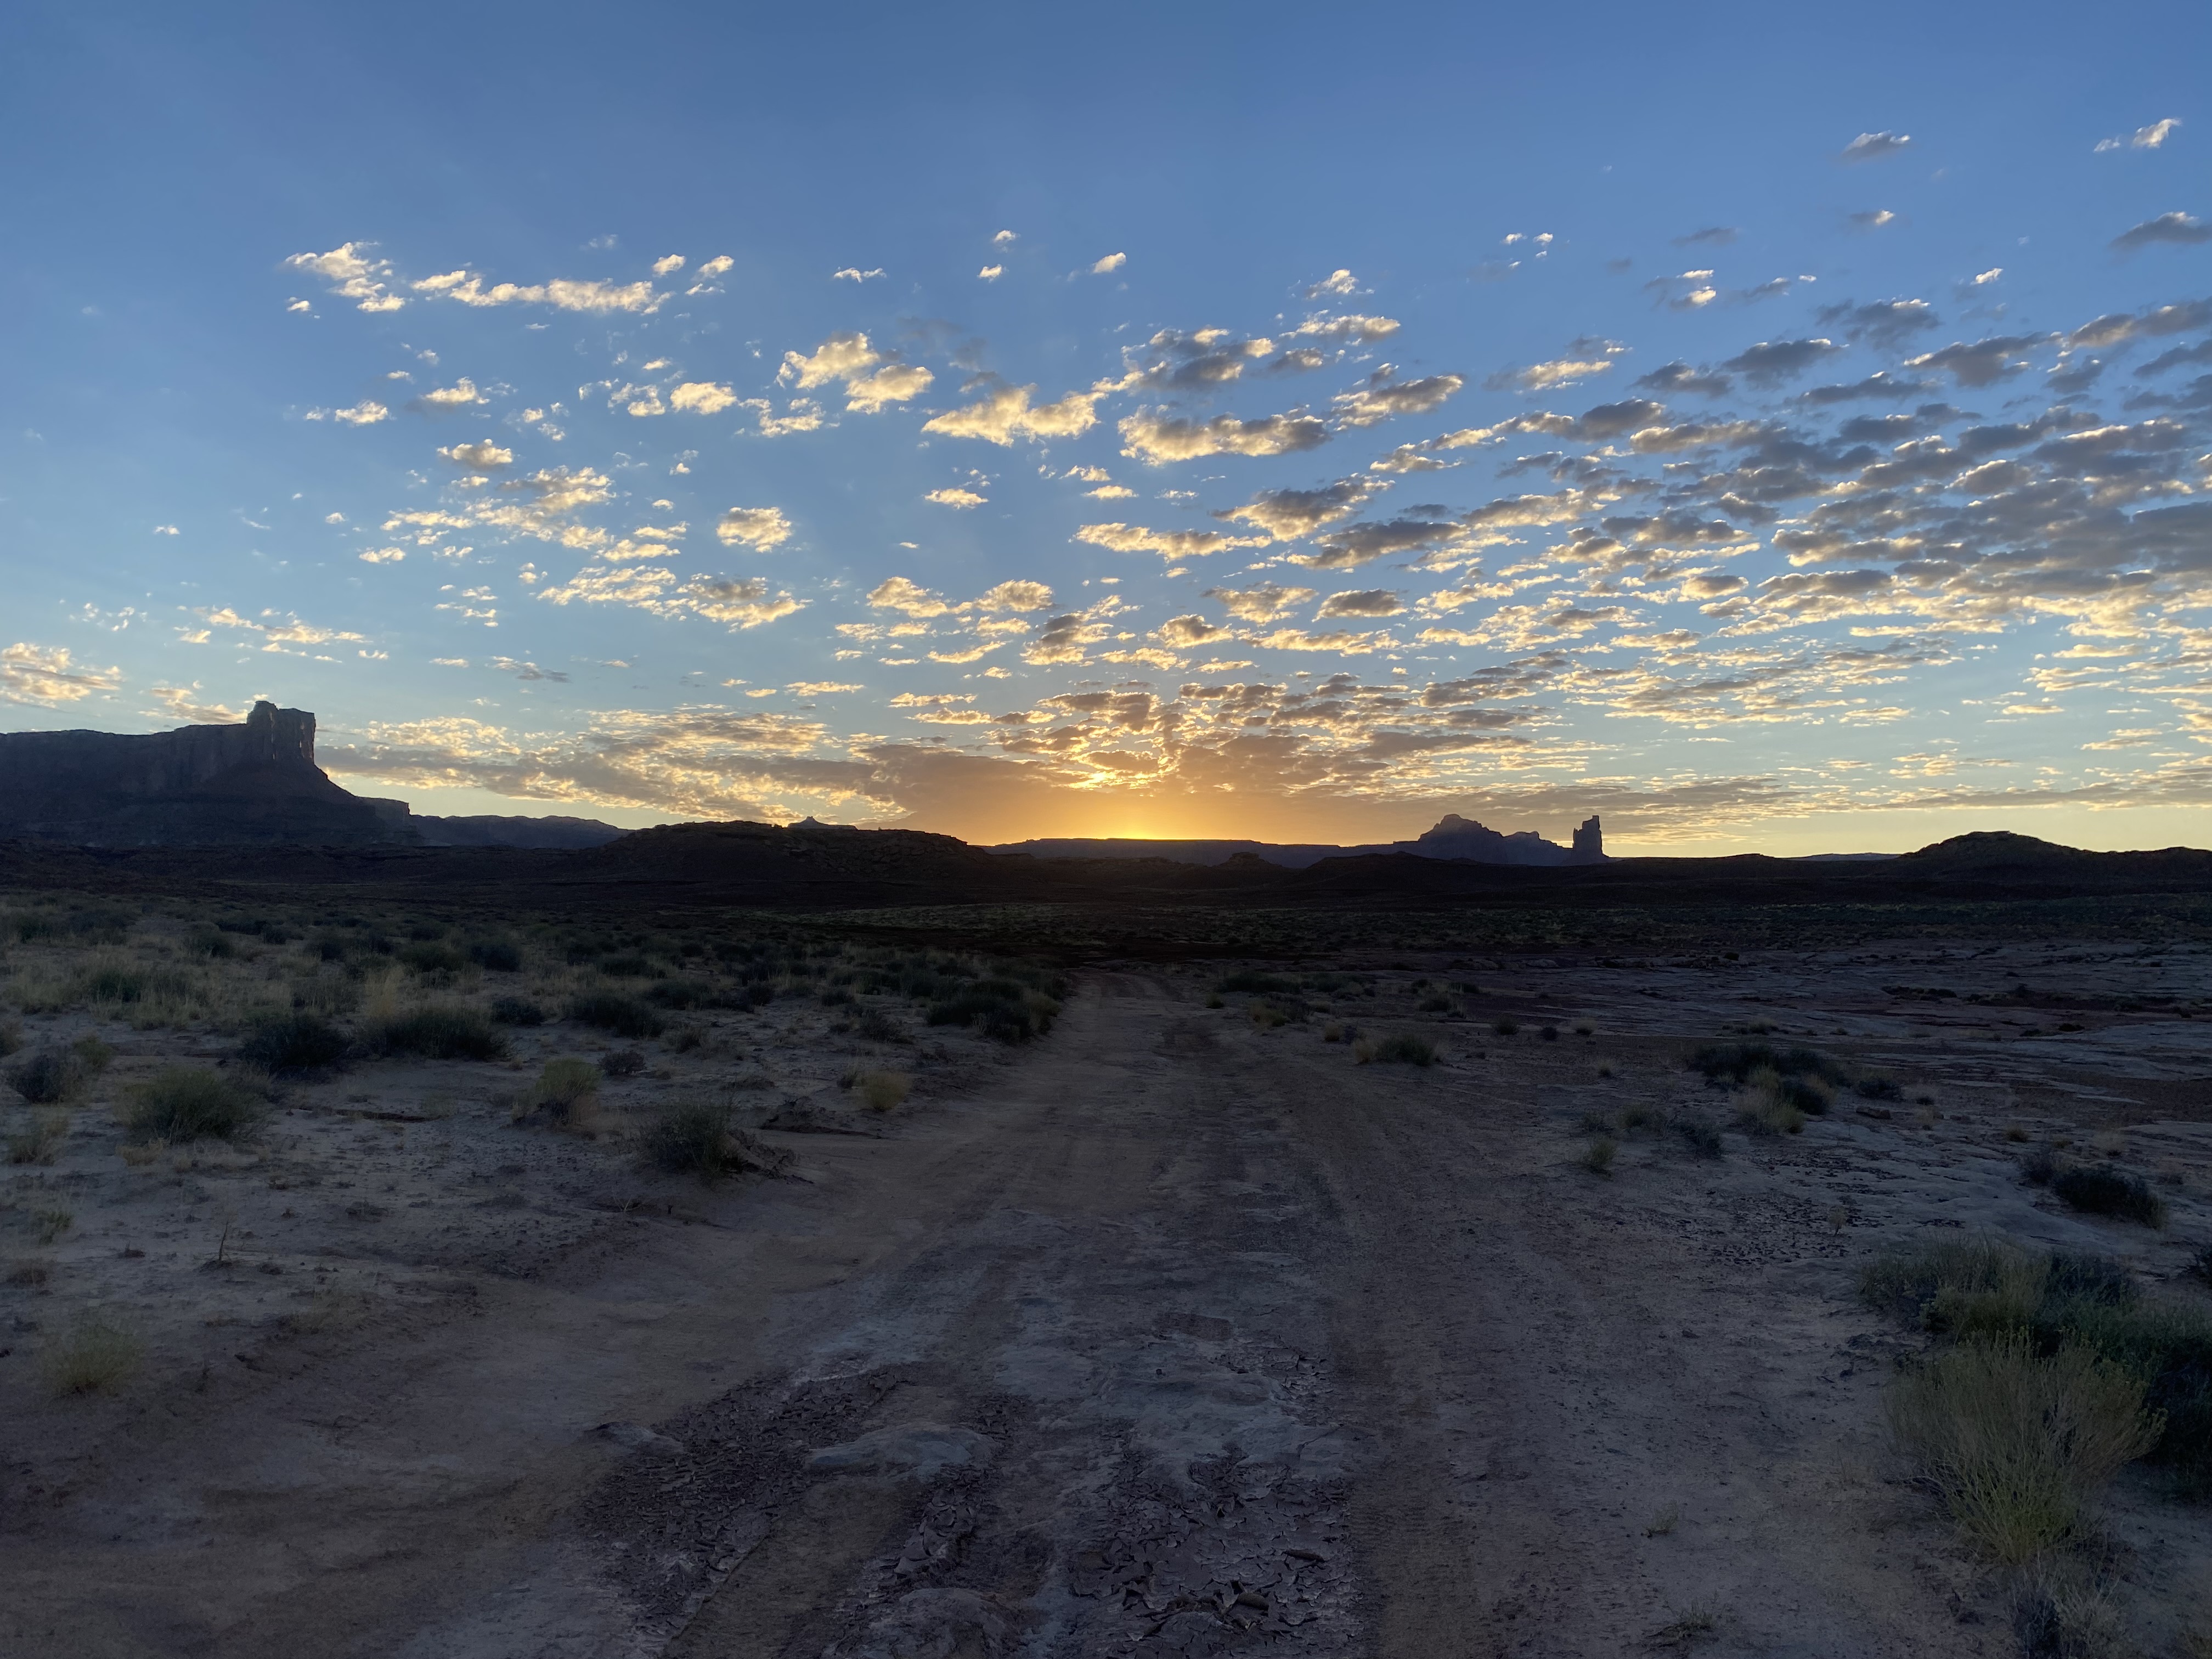
White Rim Trail
Overview
Most of what I write about here is a ride I squeezed in before school drop-off or bargained for on a Saturday morning. White Rim isn't that. This one takes real planning — a permit application months out, a support vehicle, and an actual conversation with my wife that starts with "so, about that long weekend." It's the one exception I make, and it's worth every bit of the logistics.
The White Rim Road is a 99.48-mile loop that circles beneath the Island in the Sky mesa in Canyonlands, tracing the edge of the white sandstone bench the trail is named for. You're pedaling a shelf of rock a thousand feet below the rim you started on and a thousand feet above the Green and Colorado Rivers, with nothing between you and either drop but a few feet of jeep road. It's not technical riding — the tread is dirt, sand, and rock, not singletrack, and the surface stays mixed the whole way — but it's remote, exposed, and long enough that it stops being about bike-handling skill and starts being about logistics, pacing, and how well you manage water and heat.
Most riders take three days and two nights to do it with a support vehicle hauling water, food, and camp gear, which is how I've always done it and how I'd recommend it to anyone doing this for the first time. You'll climb 7,532 feet and give back 5,633 of it over the full loop — not in one brutal wall, but in three distinct, honest climbs that show up right when your legs are starting to feel it: Murphy Hogback near the midpoint, Hardscrabble Hill in the back half, and the Mineral Bottom switchbacks at the very end. None of them are technical, though the steepest pitches on the loop tip past 15%. All of them will humble you a little.
There's also a second way to do this, and a growing crowd of strong riders swear by it: the full loop in a single day. Call it 7 to 9 hours in the saddle if you're fit, fueled, and not stopping much — longer if any of those things aren't true. You lose the campfire and the second sunrise, but you gain a genuinely different kind of test, usually with a friend staging water at a road crossing or two instead of a full camp setup. It's not a beginner move, but it's also not reserved for the pros — it's reserved for people who've done their homework on pacing and heat.
Either way, this is not a beginner overnight bikepacking trip, but it's also not reserved for racers. The three-day version is for a rider who's comfortable in the saddle for six-plus hours a day, who's fine sleeping in the dirt with no water source for two nights, and who wants scenery that makes the effort feel small by comparison. The one-day version is for that same rider on a good fitness block who'd rather suffer once than three times. Either way, put in for the permit early — they go fast — and start planning your support vehicle now.
The Route
The loop can be ridden either direction, but I always go clockwise, dropping the technical Shafer switchbacks early with fresh legs and saving the mellower, better-graded Mineral Bottom climb for the tired final stretch.
Miles 0–7: The Shafer Trail Switchbacks You start at the top, near the Island in the Sky Visitor Center, and drop off the mesa almost immediately. The Shafer Trail loses about 700 feet through a stack of tight switchbacks carved into the cliff face, and it's the kind of descent that makes you understand the scale of the place before you've pedaled a mile. There's sand in the corners and exposure on the outside line, so this is a ride-your-brakes, not-your-ego section. By the bottom, you're officially on the White Rim, and the character of the whole trip has already changed — you're small now, and the canyon is enormous.
Miles 7–19: Potash Road to Airport Tower The road flattens and runs along the Colorado River side of the rim, and this stretch is where the trail starts showing off. You'll roll right across Musselman Arch — a flat sandstone span with a 400-foot drop on either side that most riders walk out onto rather than ride — and pass beneath Airport Tower, the sandstone butte that gives the first night's campsites their name. It's fast, rolling terrain, mostly hardpack with a few sandy stretches, and it's an easy place to get distracted by the views and forget to eat.
Miles 19–39: Airport to White Crack Junction This is the long middle section past Gooseberry, and it's where the trail settles into its rhythm — undulating dirt road, occasional rock ledges, wide-open desert on one side and a thousand-foot drop to the river on the other. Washer Woman Arch and Monster Tower come into view to the north, and Monument Basin, a badlands of eroded rock pinnacles below the rim, opens up on your right. Nothing here is technically hard, but the sun is fully up by now and there's no shade anywhere on this section — pace yourself accordingly.
Miles 39–45: The Climb to Murphy Hogback The road tips up here, rolling but generally trending uphill, until it delivers you to the base of Murphy Hogback — the trail's approximate halfway point and its first real gut-check climb. It's steep, loose in spots, and short enough that you can see the top the whole way up, which is either motivating or torturous depending on your mood that day. Walking sections of it is common and nothing to be embarrassed about; even strong riders end up pushing here.
Miles 45–66: Candlestick, Turks Head, and Potato Bottom From the top of the Hogback, the trail trends downhill and mellow for a long stretch, past Candlestick Tower and around a wide bend in the Green River where the Turks Head butte sits in the middle of the oxbow like it was placed there on purpose. This is the most rewarding riding on the trail — rolling, scenic, low-effort — and it's worth actually looking around instead of grinding through it, because the second half of the ride is about to ask more of you.
Hardscrabble Hill Right around mile 66, the free ride ends. Hardscrabble is a short, loose, rocky climb — under a mile, but steep and technical enough that most riders are off and pushing at some point. It's the trail's reputation-earner, the section people mention by name when they talk about this ride. It's not long. It just arrives exactly when you're tired enough to feel every foot of it.
Miles 66–74: Labyrinth to Mineral Bottom Past Hardscrabble, the trail runs along the Green River through a rockier, more technical stretch before easing off near the Labyrinth junction, where a spur road leads to Taylor Campground and views of the Zeus and Moses spires. This is the last quiet section before the final push — flatter, sandier in places, and a good spot to eat something before the trail's last big ask.
The Final Climb: Mineral Bottom Switchbacks This is the trail's closing argument. The road turns away from the river and climbs roughly 1,200 feet out of the canyon on a series of well-graded switchbacks — wider and smoother than Shafer, but longer, and it comes at mile 74 on legs that have already put in three days of work. It's a grind, not a technical challenge, and there's something satisfying about topping out and realizing the hardest riding is officially behind you. From the top, it's about 13 flat, unremarkable miles of graded dirt road back to pavement — not scenic, but an easy spin to close out the loop.
What to Bring
- Water — a lot of it — There is no potable water anywhere on the White Rim. Plan on a gallon per person per day minimum, more in summer, and have your support vehicle haul it. This is the single most important logistical piece of this trip.
- A high-clearance support vehicle and driver — Nearly everyone does this trip vehicle-supported, hauling water, food, and camp gear between designated sites. Going fully self-supported and carrying it all on the bike is possible but changes the difficulty of this trip entirely.
- Tubeless setup with a real repair kit — The rock and sand chew through tubes, and you are genuinely remote out here. Extra sealant, a plug kit, and a spare tube aren't optional.
- Sun protection for a full day, every day — There is no shade on most of this route. Sunscreen, a buff, and a jersey you don't mind sweating through for three straight days.
- Warm layers for camp — Desert nights swing hard even when the daytime temps are pleasant. Spring and fall nights at elevation can get genuinely cold.
- Your backcountry permit and park pass — Overnight permits are competitive and need to be booked well in advance through Canyonlands National Park; a separate individual park entrance pass is required on top of that. Day-use permits are simpler and are what you'll need for a one-day push.
- A lights and a bail-out plan, if you're going in a day — Riding 99.48 miles in 7–9 hours means starting before sunrise and leaves little room for a bad patch. Bring a headlamp and know where your support vehicle can reach you if the day goes long.
Local Tips
- Best window: The road is officially rideable April through November, but I'd narrow that to spring and fall. Summer heat on exposed, shadeless rock is not just unpleasant, it's genuinely risky given how little water access there is out there.
- Combine it: If you've got the legs and an extra half day, the Lathrop Canyon spur down to the Colorado River and the short ride out to White Crack overlook are both worth the detour — neither is on the main loop, and both are among the best views on the whole trip.
- Hazards: The Green River side of the loop can flood in late spring during high water, sometimes closing sections of the trail entirely. Check current conditions with the park before you finalize your itinerary, not the week of.
- Post-ride: Get back to Moab and go straight to Moab Coffee Roasters on Main Street. After three days of instant coffee at a dirt campsite, a real espresso and a shaded patio feel like the nicest thing that's ever happened to you.